- About
- Services
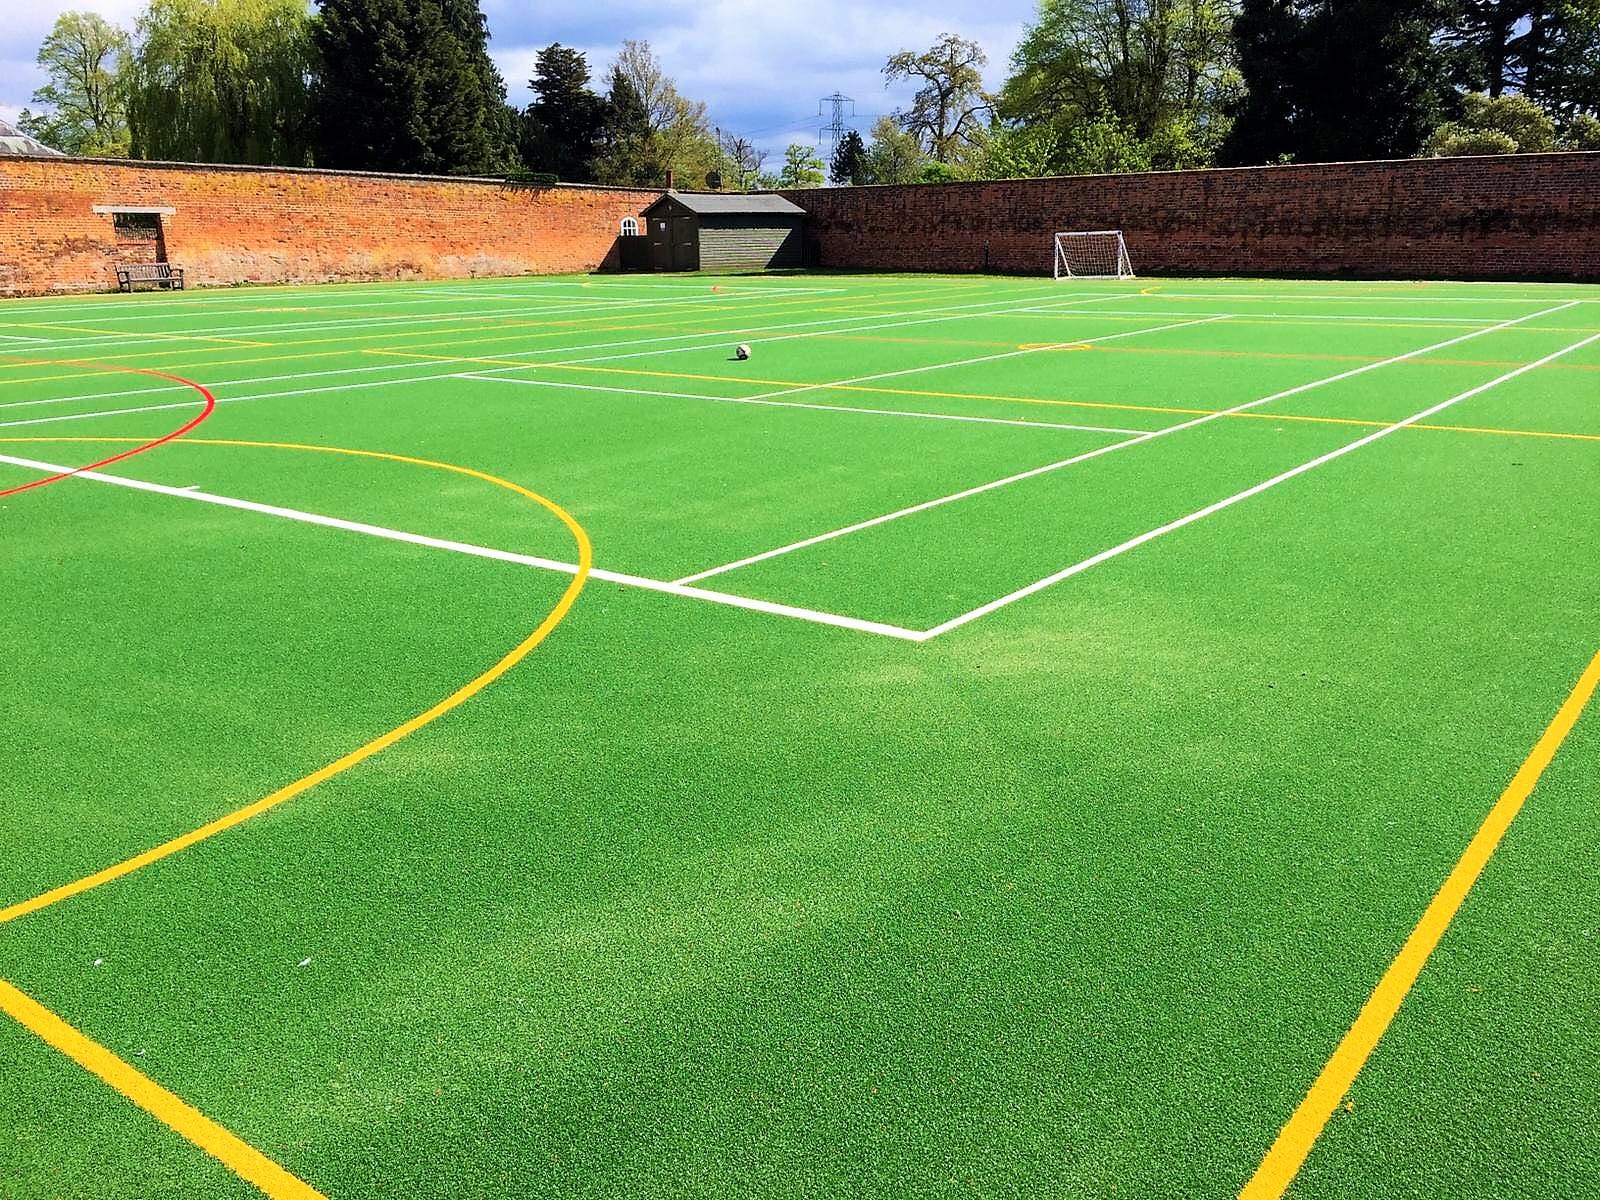
- Play
- Sport
- Case Studies
- News
- Contact
- Pitchbuilder
Astro turf has become one of the most popular surfacing solutions for schools, sports facilities, playgrounds, commercial developments, and residential properties. It offers a durable, low-maintenance alternative to natural grass while providing a clean and consistent surface throughout the year.
However, the success of any astro turf project depends on more than the turf itself. The quality of the installation process directly affects drainage, performance, safety, appearance, and lifespan. Astro turf installation requires careful planning, proper ground preparation, and professional construction methods.
This guide explains the complete installation process, from initial site assessment through to ongoing maintenance, helping you understand what is involved in creating a high-performing artificial grass surface.
Contact STM to discuss astro turf installation solutions tailored to your project requirements.
Astro turf is a synthetic grass surface manufactured using artificial fibres designed to replicate the appearance and performance of natural grass.
Modern systems are used across a wide range of applications, including:
Artificial grass systems provide year-round usability with reduced maintenance requirements compared to natural turf.
Successful installation starts long before the turf arrives on site.
Several factors must be considered during the planning stage:
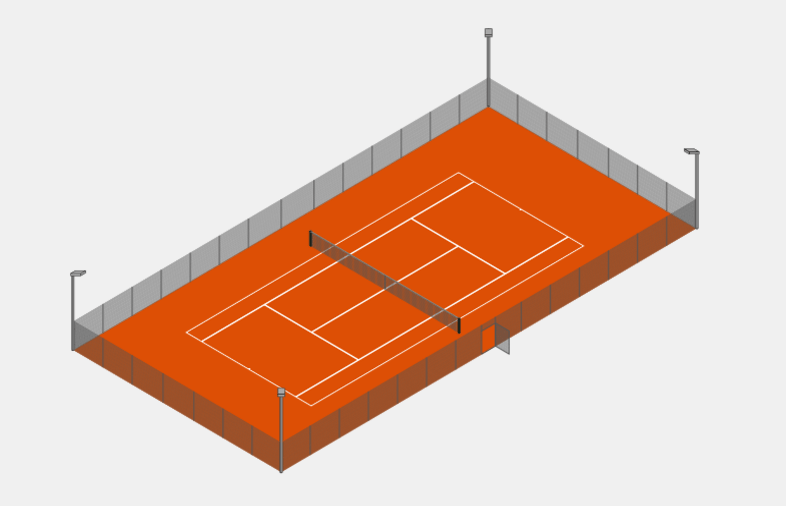
Different applications require different systems. A school playground will have different requirements to a football pitch, while a garden installation will differ significantly from a commercial landscape project.
Project planning determines the most suitable installation approach.
Every installation begins with a thorough site assessment.
This stage allows installers to understand:
Poor site conditions can lead to future issues if not addressed during the planning phase.
Site assessment identifies challenges before construction begins.
The existing surface must be removed to create a suitable foundation.
Depending on the project, this may involve removing:
All vegetation, roots, and organic matter should be removed to prevent future settlement and weed growth.
Surface removal prepares the area for construction.
 Step 3: Excavation and Ground Preparation
Once the existing surface has been removed, excavation may be required.
The depth of excavation depends on:
Sports surfaces generally require deeper construction depths than decorative landscaping installations.
Excavation creates space for the sub-base structure.
The sub-base is the foundation of the entire system.
A properly constructed sub-base provides:
Most installations use compacted aggregates such as MOT Type 1 stone.
The material is installed in layers and compacted thoroughly to prevent future movement.
Sub-base construction supports long-term surface performance.
Effective drainage is one of the most important aspects of astro turf installation.
Without proper drainage, water can collect beneath the surface and lead to:
Drainage systems may include:
Drainage design removes excess water from the playing surface.
The laying course creates a smooth and level platform beneath the turf.
This layer helps:
Materials vary depending on the specification, but the finished layer must be accurately levelled before installation continues.
Laying course creates a stable platform for artificial grass.
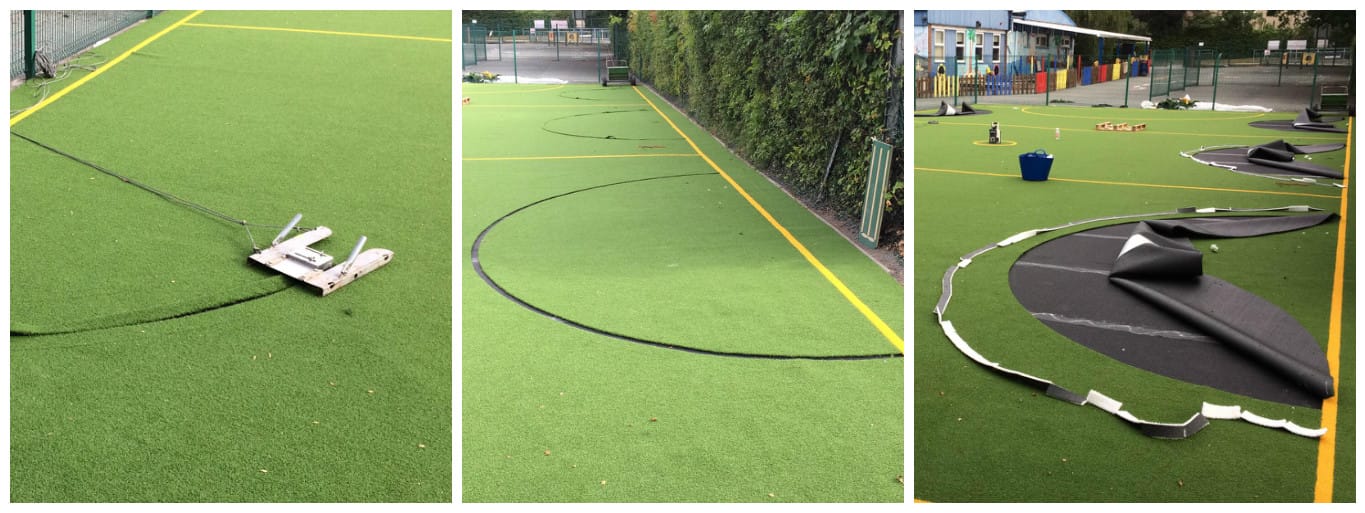
Edging provides perimeter support and helps secure the surface.
Common edging options include:
The correct edging solution depends on the application and expected levels of use.
Edging systems secure the perimeter of the installation.
Once the base construction is complete, the artificial grass can be positioned.
This stage requires careful planning because the direction of the grass fibres affects the final appearance.
Installers must ensure:
Turf placement affects visual consistency across the surface.
The turf is then trimmed to fit the area precisely.
This process includes working around:
Accurate cutting is essential to achieve a professional finish.
Precision fitting ensures a clean and consistent appearance.
Many installations require multiple rolls of turf.
These sections are joined using:
Poorly installed joins can create visible seams and future maintenance issues.
Joint installation creates a continuous playing surface.
Once fitted, the turf is secured around the perimeter.
Methods vary depending on the edging system and application.
The objective is to prevent:
Perimeter fixing stabilises the finished installation.
Many artificial grass systems require infill materials.
Infill helps:
Different applications use different infill systems.
Examples include:
Infill material supports surface performance and longevity.
Following installation, the surface is brushed to distribute infill and lift fibres.
This stage improves:
The surface is then inspected to ensure installation quality.
Surface finishing completes the installation process.
 Common Installation Mistakes to Avoid
Poor installation often leads to premature surface failure.
Common mistakes include:
Installation quality determines long-term performance.
The lifespan of astro turf depends on:
Most professionally installed systems can provide many years of reliable performance.
Surface lifespan depends on maintenance and usage patterns.
Although artificial grass requires less maintenance than natural turf, regular care remains important.
Maintenance tasks typically include:
Routine maintenance extends surface lifespan and appearance.
Artificial grass is only as good as the system beneath it.
A professionally installed surface provides:
Professional workmanship protects the value of your investment.
Astro turf installation is a carefully planned process involving site assessment, excavation, drainage, base construction, turf installation, and ongoing maintenance. Every stage contributes to the overall performance and lifespan of the finished surface.
Whether the project is a sports pitch, school playground, commercial development, or landscaped area, a properly installed artificial grass system provides a durable, attractive, and reliable solution for long-term use.
Astro turf installation creates lasting value when designed, installed, and maintained correctly.
Contact STM to discuss astro turf installation for your sports, play, or outdoor space.