- About
- Services
- Play
- Sport
- Case Studies
- News
- Contact
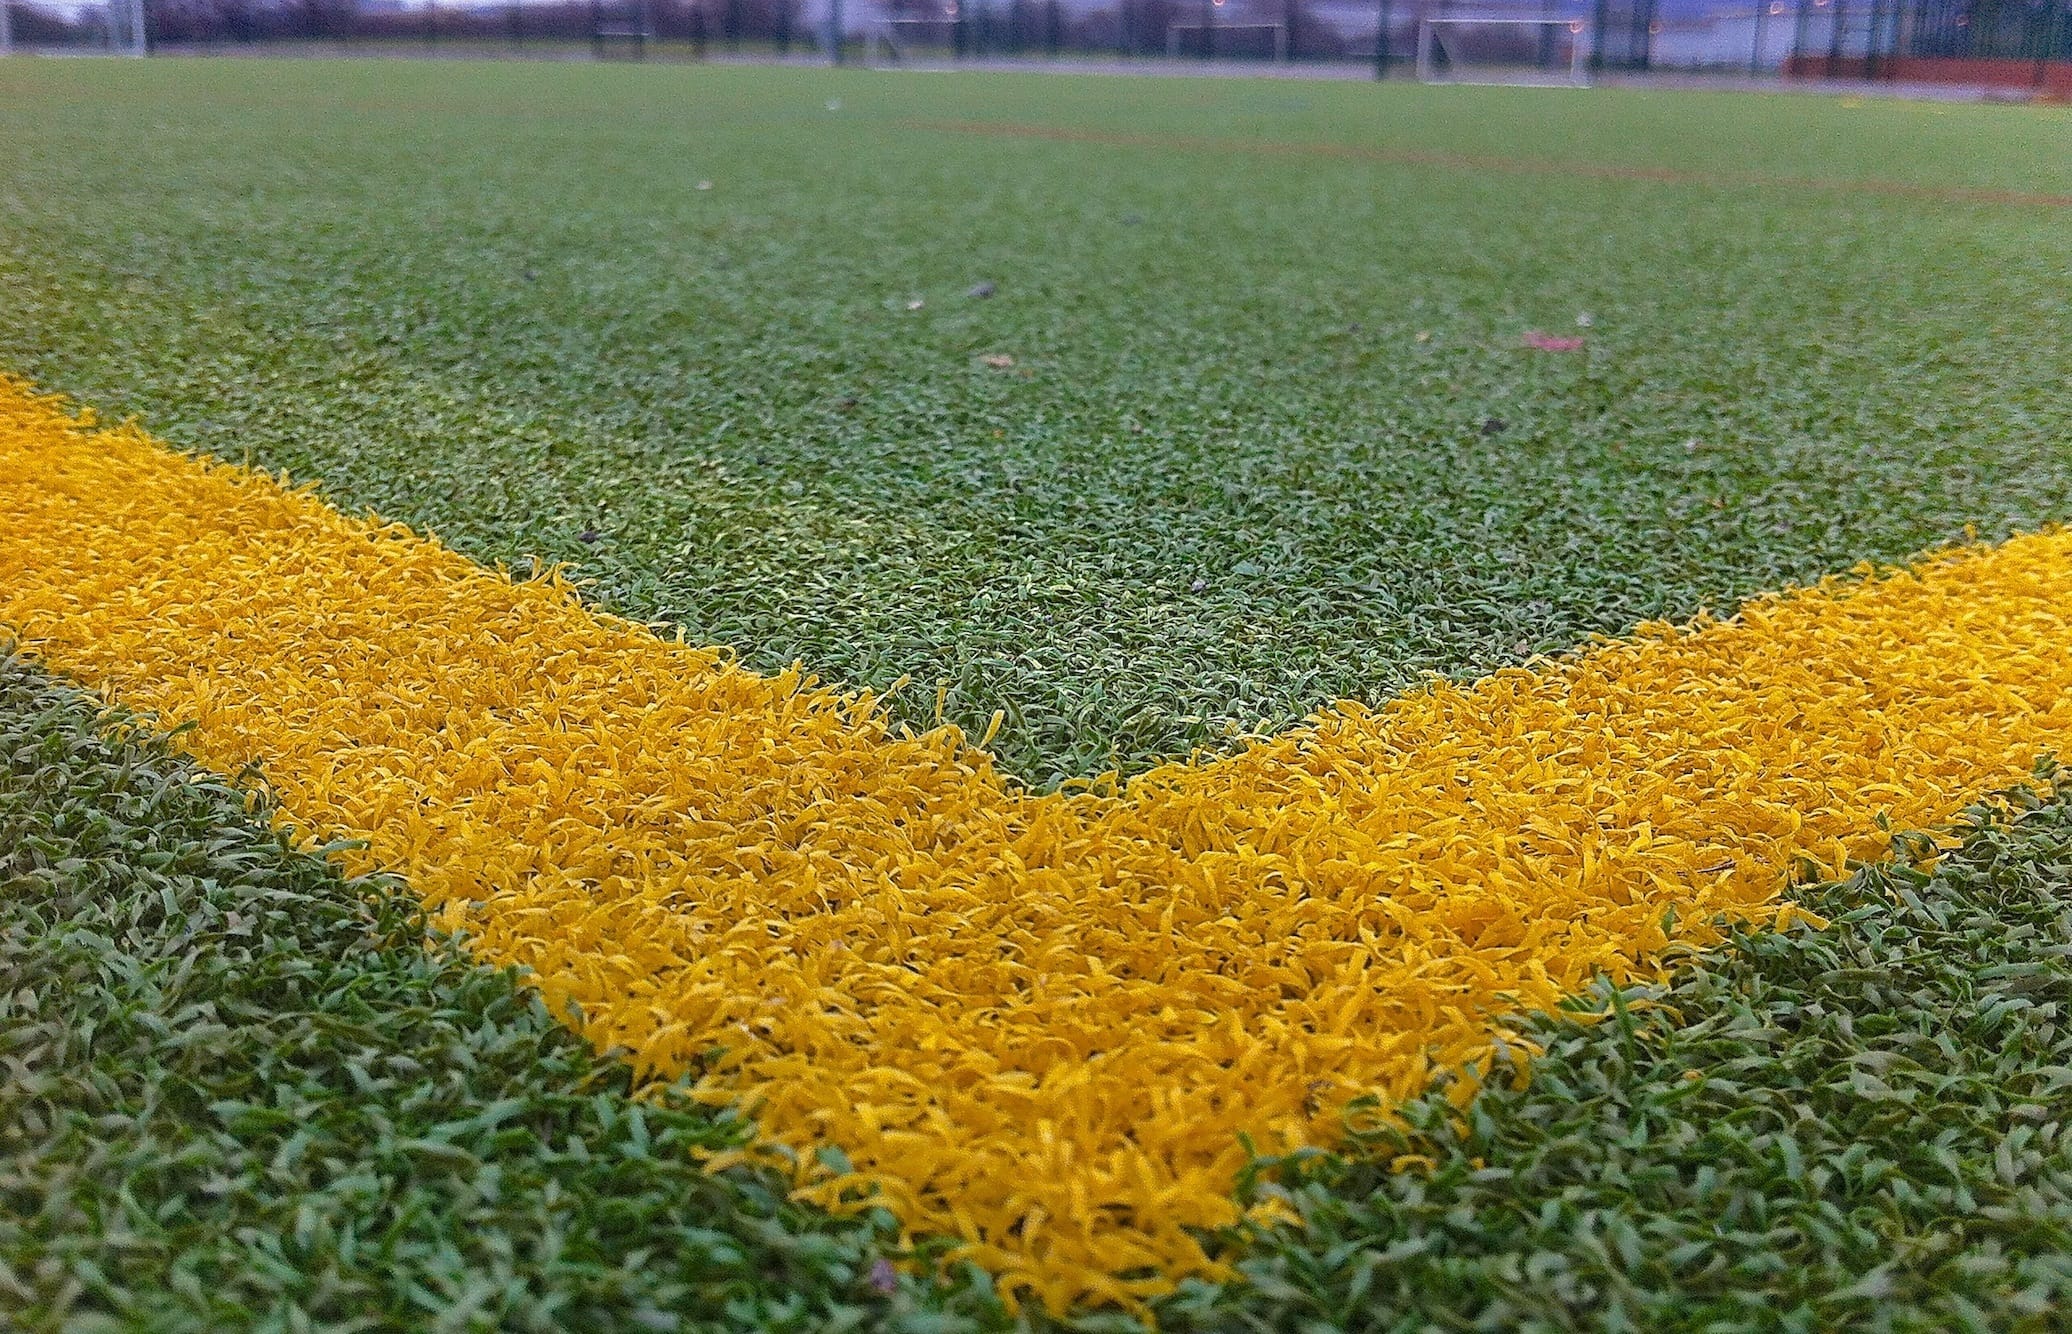
- Pitchbuilder
Are you tired of maintaining a natural grass lawn that constantly requires watering, mowing, and patching up bare spots? Maybe it's time to consider switching to astro turf. Not only is it low-maintenance and durable, but it also looks just as good as real grass.
However, installing astro turf requires more than just laying down some artificial grass over your existing lawn. In this article, we'll guide you through the process of getting the perfect astro turf installation for your home.
Firstly, preparing the ground is crucial to ensuring a successful installation. This involves removing any existing vegetation or debris and levelling out the ground to create a smooth surface for the astro turf to lay on.
It may seem like a daunting task, but with our step-by-step guide and helpful tips and tricks for maintenance, you'll have a beautiful new lawn in no time. So let's get started!
Now that you've got your area cleared and levelled, it's time to start prepping the ground for your new low-maintenance lawn.
First things first, you need to make sure the soil is ready to support your artificial turf. If the ground underneath is too soft or uneven, it can lead to an uneven surface on top of your astro turf. To avoid this issue, we recommend compacting the soil with a roller and adding a layer of crushed stone to create a solid base.
Next up, you'll want to add a weed barrier over the prepared soil. This will help prevent any pesky weeds from growing through your newly installed astro turf. We suggest using a high-quality weed barrier fabric that allows water and nutrients to pass through while also blocking out unwanted plant growth.
Finally, you may want to consider adding some drainage features before installing your astro turf. Proper drainage is essential for maintaining the longevity and appearance of your artificial grass. You can achieve this by creating slopes in areas where water tends to pool or by installing drainage systems such as French drains or perforated pipes beneath the surface.
By taking these steps in preparing the ground for installation, you'll be well on your way towards achieving a perfect astro turf installation that will look great for years to come!
So you want to become the ultimate backyard sports champion, huh? Well, buckle up and pay attention because we're about to dive into the nitty-gritty of laying down that green stuff. Installing astro turf can seem daunting at first, but with a little bit of patience and hard work, you'll be able to create an incredible space for your favourite sports activities.
First things first: make sure you have all the necessary tools and materials before getting started. You'll need a utility knife, adhesive glue or seaming tape, a power brush or broom, and of course, your astro turf.
Once you have everything ready to go, it's time to prep the ground by removing any debris or rocks from the area where you'll be installing your astro turf.
Once the ground is prepped and your materials are in place, it's time to start laying down your astro turf. Begin by unrolling the turf onto the surface area and then use a utility knife to cut off any excess material around the edges.
Next, apply adhesive glue or seaming tape along each seam between different sections of grass until everything is securely fastened together.
Finally, use a power brush or broom to give your new astro turf installation a professional-looking finish.
With these simple steps in mind, you'll be well on your way towards creating an amazing backyard sports hub!
Maintaining your artificial grass is key to keeping it looking great for years to come - with a few simple tricks, you'll be able to keep your green space in tip-top shape.
Firstly, regular brushing is essential for the longevity of your astro turf. Use a stiff brush or rake to remove debris such as leaves and twigs that could accumulate on the surface. Brushing also helps ensure that the blades of grass remain upright rather than matted down, which can cause damage over time.
Secondly, it's important to clean up any spills or stains on your astro turf as quickly as possible. You can use a mixture of warm water and mild detergent to gently scrub away any dirt or grime that has accumulated on the surface. Be sure not to use any harsh chemicals or abrasive materials that could damage the fibres of your artificial grass.
Finally, regular maintenance checks are crucial in ensuring the overall health of your astro turf installation. Check for signs of wear and tear such as bald patches or discoloured areas and address them promptly before they worsen. Also be sure to inspect any seams or edges where two pieces of artificial grass meet - these areas can become loose over time and may need re-taping or gluing.
By following these simple tips and tricks for maintaining your astro turf installation, you'll be able to enjoy a beautiful, lush green lawn all year round!
In conclusion, achieving a perfect astro turf installation is possible with the right preparation and installation techniques. It takes time, effort, and careful consideration of factors such as ground preparation, measurements, and maintenance.
But once you have it in place, it can transform your outdoor space into a beautiful, low-maintenance oasis that you can enjoy year-round. As someone who's experienced the joy of having an immaculate astro turf lawn in my own backyard, I know how rewarding this project can be.
The allusion to a well-manicured golf course or professional soccer field may seem grandiose at first glance, but trust me when I say that investing in astro turf is worth every penny. With proper care and attention to detail throughout the process--from groundwork to post-installation maintenance--you'll soon have a lush green lawn that will impress your guests and bring joy to your family for years to come.